
How to Add Canon MAXIFY GX4020 Wireless Printer to Computer?
April 7, 2025

A Canon printer is great for regular printing tasks and is well-equipped with advantageous features. It can print documents and photos easily and doesn’t compromise the print quality. Moreover, it can be paired with any device, whether a Windows or Mac computer. Also, there are multiple ways to connect these printers to a device, including USB, Bluetooth, and Wi-Fi. In this blog, you will learn 'how to add Canon printer to computer' using wireless methods.
Users can connect their Canon MAXIFY GX4020 wireless printer to a device via wired or wireless connection. But, here, we will only learn the wireless connection method. Therefore, let’s understand the connection methods here.
Requirements to Set Up Your Canon Printer
Before you set up a wireless connection with your printer, you must ensure that you have the following things. Take a look at them:
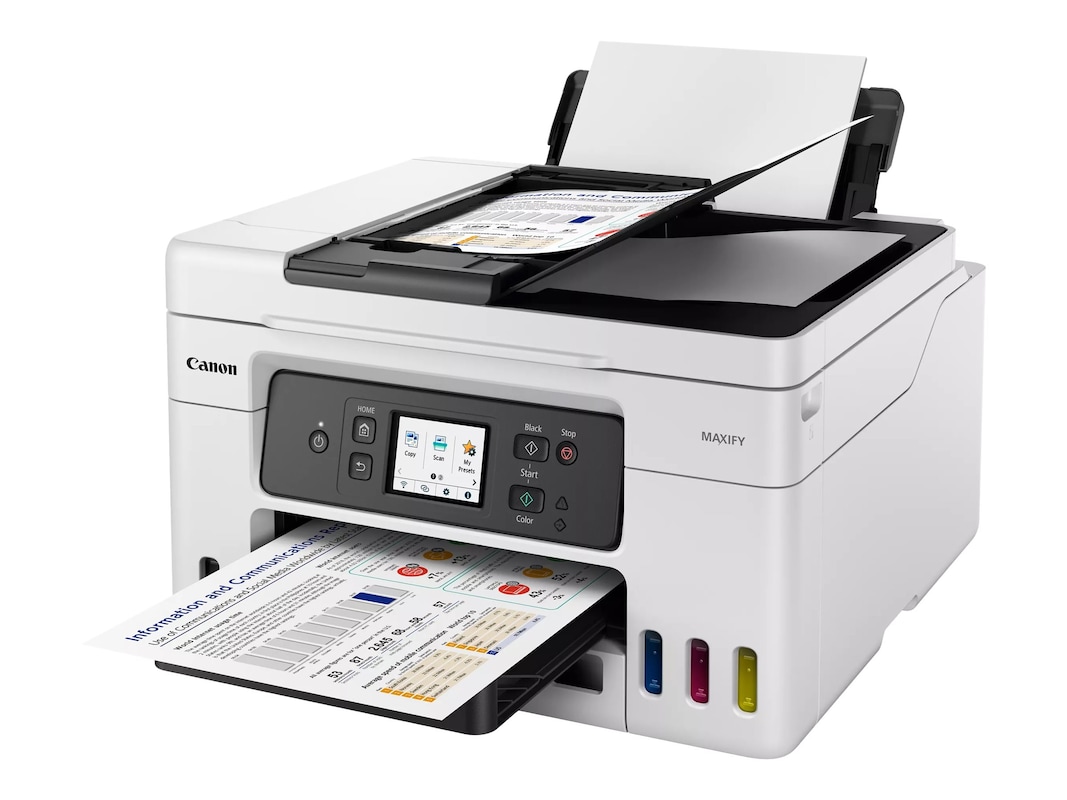
● Canon MAXIFY GX4020 wireless printer
● A computer (Windows or macOS)
● A USB cable
● Internet connection
● Latest and up-to-date printer drivers
Ensure you have these items ready to setup your Canon wireless printer on a desktop or laptop.
How to Add Canon Printer to Computer (Windows/ Mac)
When you know what you need to set up a connection, you are ready to connect your printer wirelessly and add it to your computer. Let’s check out the methods here.
For Windows
If you are a Windows user, the given steps will help you connect your printer to it:
- To start, power on your printer and prepare it.
- Turn on the wireless button on your printer and wait until that button starts flashing.
- Choose your wireless network on the printer’s screen and enter the password.
- After that, visit Canon’s official website to install the latest printer drivers.
- Next, go to the Settings option on your Windows PC.
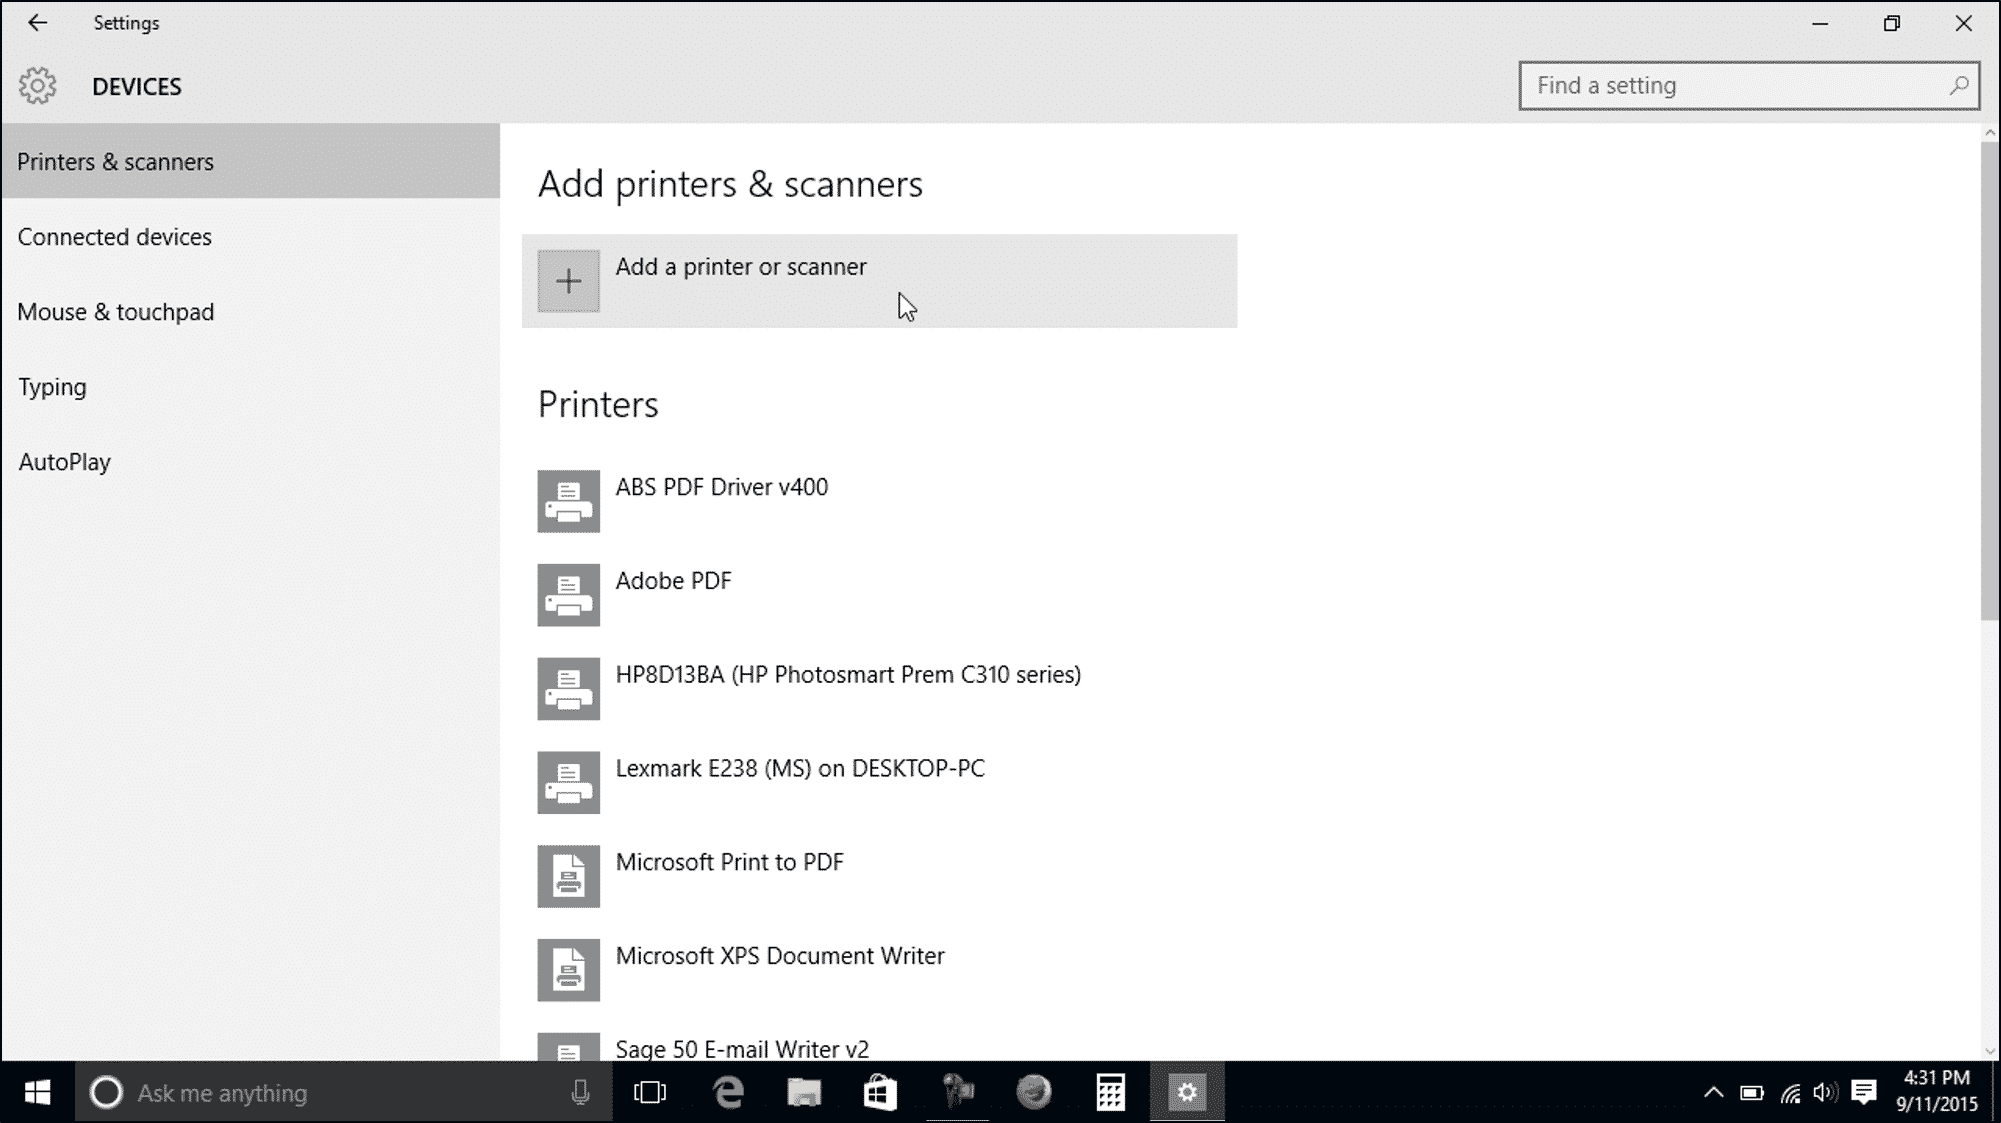
- Click on the Devices option, and then hit the Printers & Scanners option.
- In the next step, select the Add a printer or scanner option.
- Now, choose your printer from the list and hit the Add Device option.
This is 'how to add Canon printer to computer'. Now, let’s check out the steps for a Mac.
For Mac
If you are a Mac user, check out the steps below to setup the connection.
- Start by turning on your printer.
- Power on the wireless button on the printer and let the button start flashing.
- Select your wireless network on the printer and enter the password.
- Download and install the necessary printer drivers through its official website.
- Next, go to the Apple menu on your Mac system.
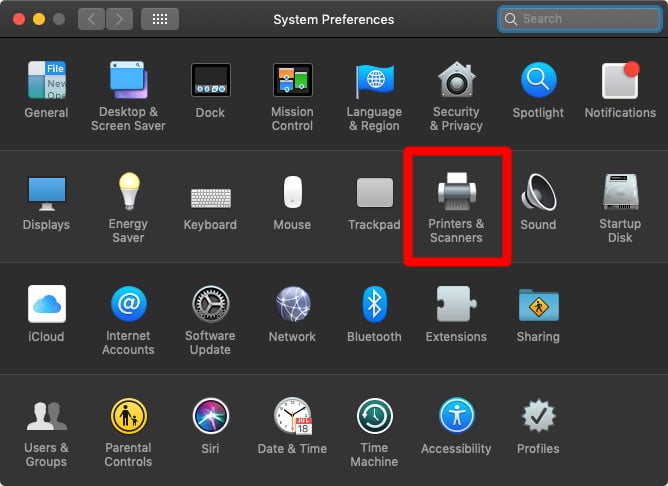
- In the next step, head to the System Preferences option.
- Then, click the Printers & Scanners option.
- Afterward, hit the plus option and then select your printer from the list.
- Lastly, hit the Add option to finalize the connection.
That’s how to add Canon printer to computer and make it ready for the printing process.
How to Troubleshoot Canon Printer Connection Issues
If you face any issue with the printer connection, you can fix it immediately. Let’s check out the steps to eliminate any issues that have happened.
Issue 1: When the Printer Is Not Recognized
If your computer can’t recognize your printer, it can be caused by an improper connection. If that happens, follow the steps given below:
- Ensure that your printer is ON and connected to the power supply.
- Restart your computer and printer.
Issue 2: Wi-Fi Is Unable to Work
Many times, the wireless network fails to work; in this matter, continue with the given steps:
- Verify if your printer is within the required range.
- Restart the printer and router.
- Re-supply the right password for the wireless network.
Issue 3: Canon Printer Is Offline
If you observe that your printer is offline, it can happen due to many reasons. Correct this error by following these tips:
- Set your printer as the default printer.
- Uncheck the “Use Printer Offline” option.
- Install the latest version of printer drivers.

Frequently Asked Questions
Question
How to Connect a Canon MAXIFY GX4020 Printer via Bluetooth?
A Bluetooth connection is also wireless. Follow the steps to connect it to your computer:
- First, go to the Settings on your computer.
- Then, click on the Devices option.
- Choose the
Bluetooth & devices option.
- After that, turn on the Bluetooth option.
- Next, hit the Add
Device option.
- Then, choose the Bluetooth option.
- Your desktop will start looking for the available
Bluetooth devices.
- Select your printer from the list and finalize the
connection.
Question
How Do I Add My Canon Wireless Printer to My Android Phone?
Follow the steps given below to add your wireless printer to an Android phone:
- Install the Canon PRINT app on your mobile device.
- Launch that application on your phone.
- Now, click the “Add
Printer” option in the app.
- Continue with the online directions to register that printer.
- Finally, continue with the instructions on the app to finish the connection process.
Question
How to Add Canon Wireless Printer to Computer Windows 10?
Follow the steps given below to add your printer to Windows 10:
- To start, click the Start button on your computer.
- Then, click the
Settings option.
- Now, head to the Printers & Scanners option.
- Choose the “Add
a printer or scanner” option.
- Let your computer search for your printer.
- Once you see your printer on the list, select it.
- Lastly, hit the Add option.

Enter your Comments Here: