
How to Connect Brother MFC-J4335DW Printer Wirelessly?
May 26, 2025
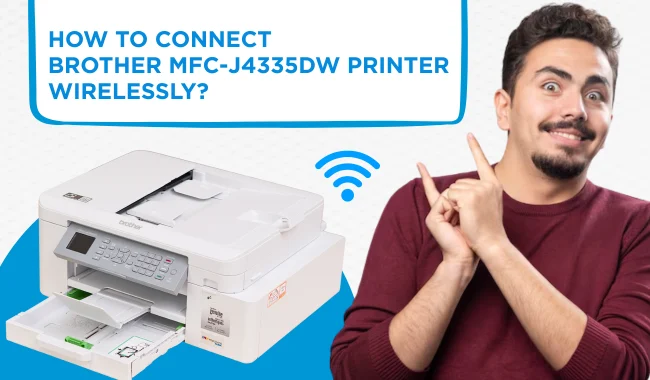

You’ve just unboxed a new Brother MFC-J4335DW printer and are feeling overwhelmed by the connection process. Well, this is not something that happens only to you. Even though the printer comes with a manual, it can be difficult to follow, especially for someone who is not tech-savvy. As a printer expert, I often assist teachers, DIY enthusiasts, and students who know how to print but struggle with complex printer manuals. To simplify the process, I have created a guide to help you connect your Brother MFC-J4335DW printer to Wi-Fi without professional help.
In this visual guide, I explain three different methods for connecting your Brother printer to your home Wi-Fi. I have simplified everything in easy-to-understand language, along with images that will help people from all backgrounds. Just follow these easy steps, and your printer will be connected to Wi-Fi in minutes. If you’re ready to start printing wirelessly from your computer or phone without any hassle, let’s walk through the process together.
Method 1: WPS (Wi-Fi Protected Setup) Connection
The WPS method lets you connect the printer to Wi-Fi without needing a computer, network name, or password. Since you don’t need these details, you won’t need to wander around. Your printer’s display is all you need; just ensure your router has a WPS button. You can find it on the back of your Wi-Fi router. Once you see it, start following the steps below:
- Plug your printer’s power cable into a socket or extension board and turn it on.

- After that, your printer display will wake up.
- Now, go to your printer's control panel (a panel with a bunch of keys on the front side) and press the Settings button.

- On your printer’s display, use the up or down arrow keys to look for the Network option.
- Then, hit the OK key to select it.
- Again, hit the OK to select the WLAN (Wi-Fi) option that appears on your screen.
- Scroll down and select the WPS/push button on the screen using the same OK button on your printer’s control panel.
- Check the backside of your Wi-Fi router and press the WPS button for 3 seconds.
- If your router has a display panel, select the Connect Wi-Fi Device (WPS) option and press OK on your router.
- Now, return to your printer’s control panel and press the right arrow button to begin connecting your printer to Wi-Fi.
- Once the Connected message appears on your screen, press the right arrow button.
Now, you may have understood how to connect a Brother printer wirelessly to your home Wi-Fi router. If your router doesn’t come with a WPS button or you are unable to find it, try the second method (Wireless Network Setup) explained below.
Method 2: Wireless Network Setup
- The first six steps are the same as those in Method 1.
- After that, use the up or down arrow navigation buttons to select "Find Wi-Fi Network" on your printer's display.

- Then, press the OK button and let it search for your Wi-Fi network.
- Make sure your Wi-Fi router is turned on and working properly.
- Once your Wi-Fi network name is visible on the screen, select it using the same up or down arrow keys.

- Press the OK button to confirm the selection.
- Now, enter your password and tap the OK button.
- Once the connection is successfully done, press the right arrow button.
I hope this method helps you if it doesn’t, try the Wi-Fi Direct method to connect your printer wirelessly.
Method 3: Wi-Fi Direct
Before connecting your printer using Wi-Fi Direct, ensure you have a mobile device for setup. Either an iOS or an Android phone will work just fine.
- The first six steps from 1 to 6 are the same as for Method 1: WPS (Wi-Fi Protected Setup) Connection.
- On the next screen of your printer’s display, select the Wi-Fi Direct option using the down arrow key on your printer’s control panel.

- After that, press the OK button.

- Select Manual under the Wi-Fi Direct section, as shown in the printer’s display.
- Tap the OK button.
- Then, go to Settings on your mobile phone and open the Wi-Fi settings.
- Now, select the network name that begins with DIRECT, followed by your printer model name, such as DIRECT-MAMFC-J4335DW.
- Enter the password on your phone from the printer’s display and tap Connect on your phone.
Final Thoughts
I hope you found the answer to your question, “How to connect a Brother printer wirelessly?”.I have tried my best to explain everything in a simple manner and included three easy methods: WPS, Wireless Network Setup, and Wi-Fi Direct. By following these steps, you can enjoy printing without the hassle of cables. If one method doesn’t work, try another until it is successful. Soon, you'll be printing wirelessly in no time.
Frequently Asked Questions
Question
How Do I Connect My Brother Printer to Wi-Fi Without a Computer?
Yes, you can connect your printer to Wi-Fi without using a computer. Here’s how:
- On the
printer’s control panel, press Menu
or go to Settings.
- Select Network > WLAN > Setup Wizard.
- The
printer will search for available networks.
- Choose
your Wi-Fi network name (SSID) and enter the password using the on-screen
keyboard.
- Once
connected, a confirmation message will appear.
Question
Why Is My Brother Not Connecting to Wi-Fi?
If your printer isn't connecting to Wi-Fi, try these steps:
- Make sure
your Wi-Fi network router is powered on and working.
- Ensure
you’re entering the correct network name and password.
- Place the
printer closer to the router to avoid signal issues.
- Restart both the printer and the router.
- Run the Wireless Setup Wizard again to retry the connection.
- If needed, update the printer’s firmware from Brother’s official website.
Question
How Do I Install Brother Wireless Driver on My PC?
To install the wireless driver, go through the steps below:
- Visit the
official Brother Support website.
- Search
for your model: Brother MFC-J4335DW.
- Download
the driver package that matches your operating system (Windows/macOS).
- Open the
file that you have downloaded and follow the steps displayed on your
screen.
- When prompted, choose Wireless Network Connection as your setup option.
- Once completed, your PC should recognize the printer.
Enter your Comments Here: