
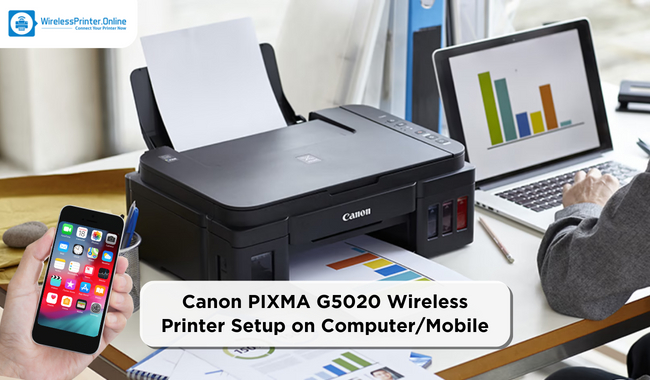
Canon PIXMA G5020 Wireless Printer Setup on Computer and Mobile
December 2, 2023

Presently, everything is becoming more convenient and simpler than ever before. By this, I want to draw attention to current printers and their capabilities. If you have used a printer since the beginning, you may notice a big difference between the old-time printer and the current printer. Printers have never been as convenient as they are now when you can set them up wirelessly with any device, including smartphones. In this guide, I will focus on the Canon wireless printer setup on a computer or mobile.
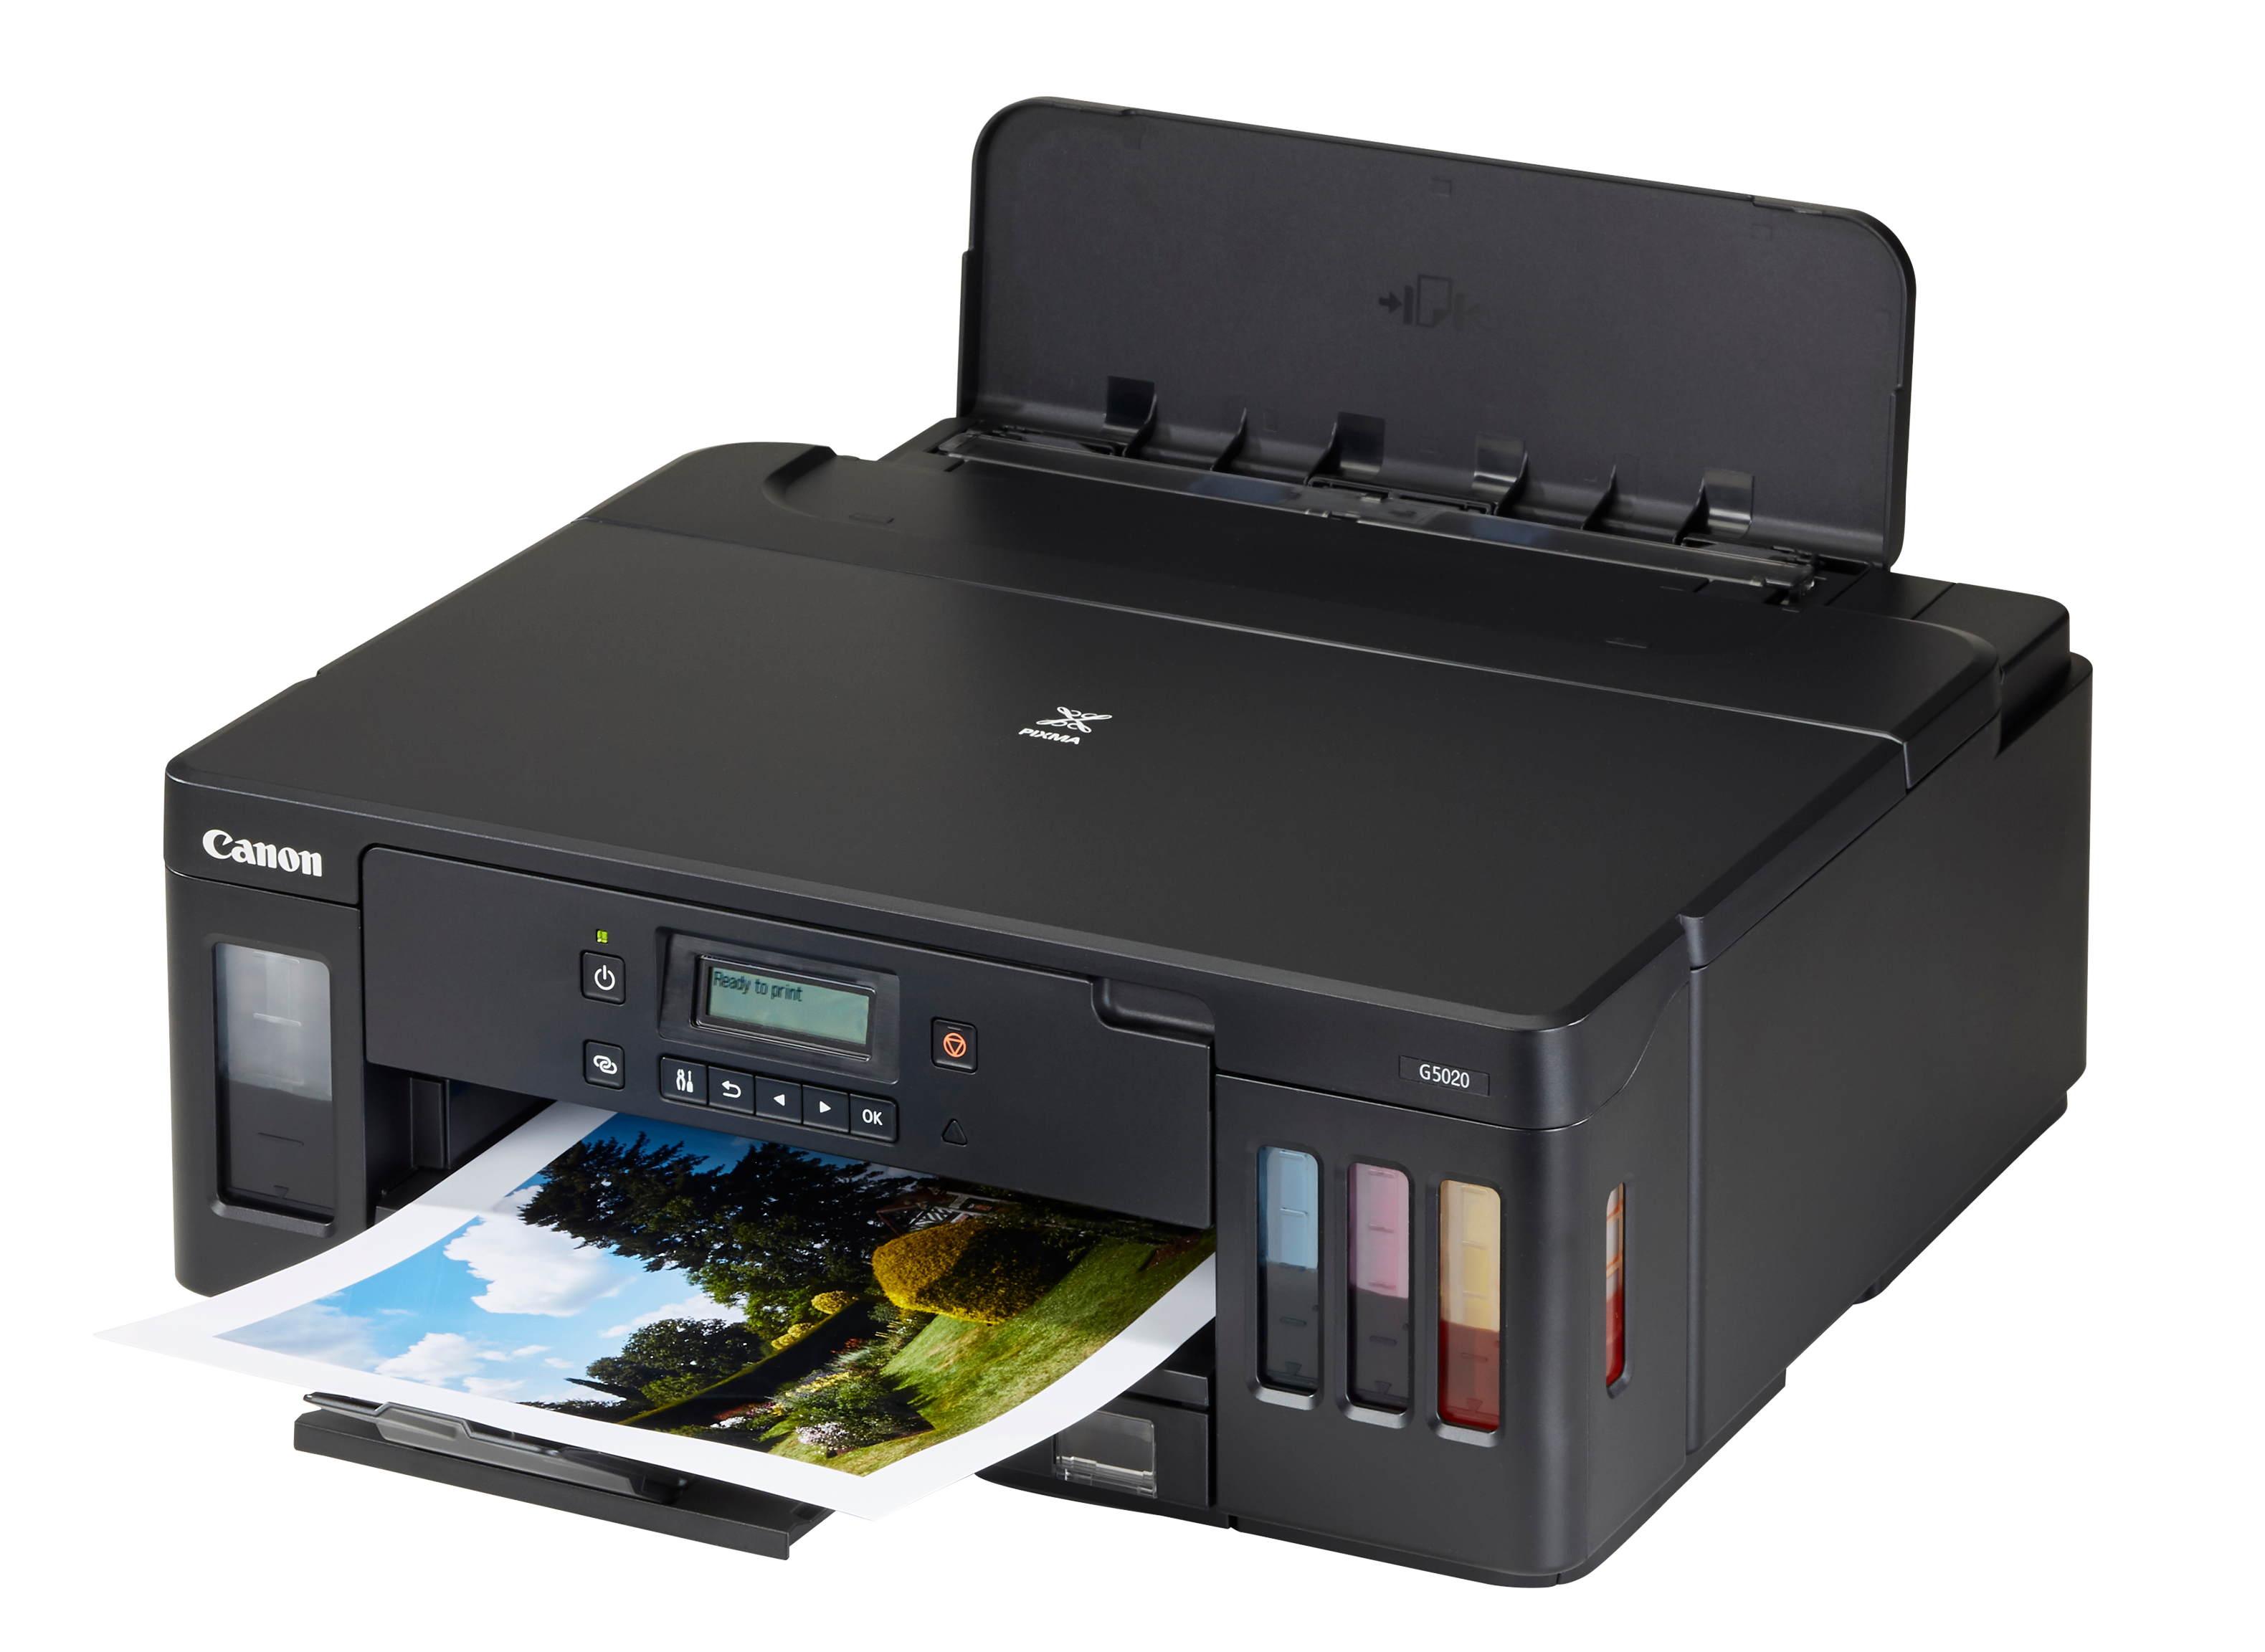
The Canon PIXMA G5020 is a wireless printer, and connecting it to a device is crucial for its setup. This is what I am going to tell you in this blog. If you didn’t know about it, don’t worry. Through this blog, you can learn it easily. I will explain everything you need to know.
Step 1: Unbox Your Canon PIXMA G5020 Printer
In the first step, you will need to unbox your Canon wireless printer and look for the necessary accessories in the box that you will need during the setup process. For example, a USB cable, power cord instruction manual, etc. If you observe that any item is missing, you can contact the vendor or the manufacturer. Then, connect your Canon PIXMA G5020 printer to the computer and follow the instructions below.
Step 2: Canon Wireless Printer Setup to Wi-Fi
A wireless network is recommended for the printer setup, and you don’t need any extra effort. To set up your Canon PIXMA G5020 printer, you can follow the instructions below.
- In the first step, switch on your Canon wireless printer by turning on the power button.
- Then, tap on the Settings button and tap the arrow button, and when you are on the Device Settings option, click the OK button.
- After that, click on LAN Settings, and when you find it, tap the OK button.
- Next, tap the arrow button until you see the Wireless LAN setup, and then click OK.
- Now, your printer will start scanning for the available Wi-Fi network, and the light will also start flashing.
- If you take more time to search, tap on the Stop button. Now, you can move to the Wireless LAN Setup and standard setup and click the OK button.
- Next, tap the arrow button until you see your Wi-Fi network.
- Now, you need to press the OK button.
- After that, supply your Wi-Fi password and click the OK button.
- At last, click the OK button when you see that the connection has been built.
These are the simple steps for the Canon wireless printer setup on your computer. For more support, you can visit our website at wirelessprinter.online and go to the support link. There, you will get the option to call or live chat with our printer professionals and get a free consultation with them.
Step 3: Connect a Canon Printer to Your Computer
Once you have set up your Canon PIXMA G5020 printer on Wi-Fi, you can move to the next step, which is to connect the wireless printer to your computer. Let’s see how to do it.
- When your devices are ready, connect them to the wireless network.
- Then, your printer’s screen will show a list of available networks.
- Now, tap on the setup page to manage the LAN settings.
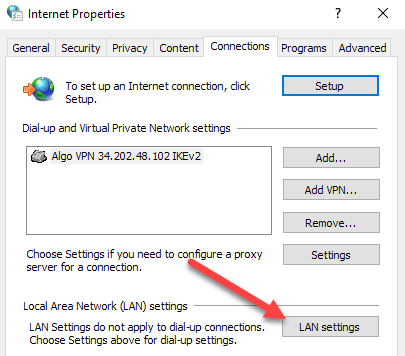
- After that, locate the SSID or home network.
- To locate your SSID, hover your mouse over the Wi-Fi icon on the screen.
- Otherwise, you can find your SSID on your ISP’s router.
- Then, supply the password for your SSID network.
- Next, tap on the Start menu on your computer.
- You will see a Gear icon on your screen.
- Then, tap on the Printers and Scanners option.
- Now, you will land on a new page where you need to tap on the Add a printer and scanner option.
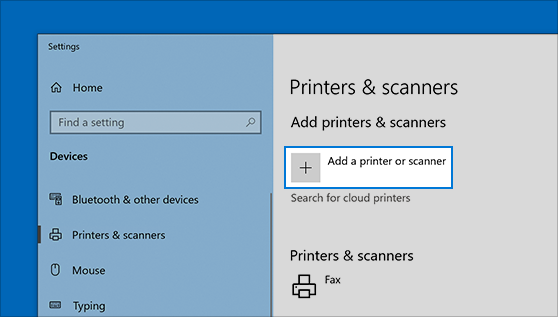
- Now, your Canon PIXMA G5020 printer will start scanning your devices, and then you’ll see your device’s name on the screen.
- Finally, continue with the on-screen directions and complete the installation.
That’s how you will complete the Canon PIXMA wireless printer setup on your Windows computer.
The Procedure of Canon Wireless Printer Setup on Your Mobile
Gone are the days when you needed a computer to set up your Canon PIXMA G5020 printer. Now, you can print a document or photo from your smartphone connected to your wireless printer. This method prevents you from the hassle of wires and cables, and you can print easily in the comfort of your home.
Below are the steps to set up your Canon wireless printer:
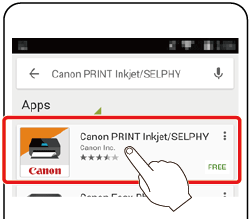
- On your smartphone, download the Canon PRINT Inkjet/SELPHY app from the Google Play Store and use the App Store on iOS.
- Then, install the app and confirm that your printer is plugged into the power supply.
- Now, verify your Wi-Fi network signal on the printer. Ensure that the signal flashes when the lights are ON.
- After that, open the Canon app.
- Next, tap on the Add printer option on the main screen.
- Then, tap on the Register printer and then Printer Setup.
- Now, tap on the Connection via Wireless Router option.
- Choose the access point or the wireless network name that you intend to use.
- Supply the wireless network name of your network.
- Then, supply the password for your wireless network and tap on the OK button.
- When your Canon wireless printer receives the network settings, tap on the OK option.
- Verify that your printer is recognized and select a printer name to connect your mobile device to it.
- At last, tap on the OK button to verify and use the Print option to take a test print.
That’s how you can perform Canon printer wireless setup on your smartphone. By performing this method, you will be able to print through your smartphone.
Conclusion
You know about Canon wireless printer setup on a desktop and smartphone. The Canon PIXMA G5020 setup process includes a few steps that are easy to perform, and even beginners can set up their Canon printers effortlessly. So you can easily complete the instructions I have shared with you. However, if you find the process difficult, you can contact our certified executives, including me, on this wirelessprinter.online website. After that, you need to move to the support tab, and then you can connect with our live agents via phone call or chat.
Frequently Asked Questions
Question
How to Setup Canon Wireless Printer on Mac?
Follow these steps to set up your Canon wireless printer on Mac:
- First of all, install printer drivers on your Mac
computer.
- Once the installation completes, tap the Apple menu and choose the System Preferences option.
- Now, choose and launch the Printers and Scanners option.
- After that, add your Canon wireless printer by
hitting the + sign.
- Choose your printer name from the available list of
devices and tap on the Add option.
Question
How to Setup Canon Printer for Wireless Printing?
These are the steps to set up a Canon printer for wireless printing:
- First, connect your printer and computer to the
Wi-Fi network.
- You need to know your SSID or home network name and
password to connect your printer to the wireless network.
- Then, go to the Start
menu on your computer.
- Now, tap on the Labeled
Devices option.
- After that, hit the Printers and Scanners option.
- You will be taken to a new page; click the Add a printer and scanner option.
- Now, your printer will detect the available devices.
- When you see your printer’s name, click on it.
Question
How Do I Connect My Canon Printer to My Laptop?
Here are directions in order to connect the wireless printer to your laptop:
1. Initially, power off your printer.
2. Then, put the USB cable into your printer’s USB port and the laptop.
3. Now, launch an internet browser on your laptop.
4. Go to Canon’s official website and download the necessary printer drivers.
5. After that, go to the Start menu.
6. Then, open the Control Panel and tap on Hardware and Sound.
7. Next, tap on the Devices and Printers option.
8. Now, press Add printer and select a local printer.
9. Select your printer’s port and click Next.
10. Now, choose Yes to keep the Canon printer as default.
Enter your Comments Here: