How to Connect Printer With USB to Windows and Mac Devices?
June 19, 2023

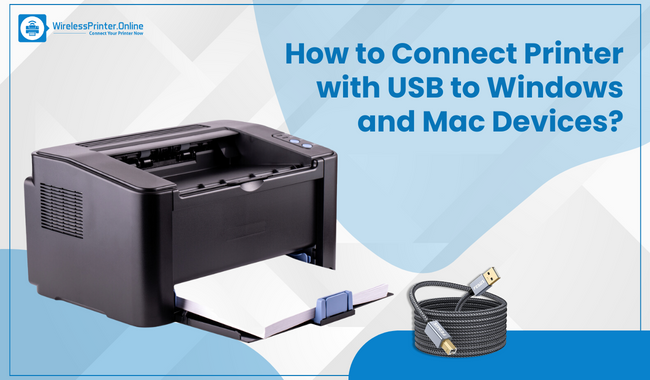
Printers hold a presence in homes and offices. After all, these devices print anything when they get connected properly. Users can connect printer with USB and start printing photos, files and other important documents. If you do not know how to establish the connection, this write-up will be helpful for you. It will help you know how you can set up your printer using the most common way, a USB connection.
The majority of printers are compatible with USB connections. And thus, read this guide and employ the methods mentioned to connect your printer and begin printing effortlessly.
Steps to Connect Printer With USB to Your Windows
Connecting the printer to Windows PC is easy with the help of a USB cable. If you want to use it while using a cable, follow the instructions below.
- Identify the USB cable first. The printer comes with two cords, Power and USB. The power cable has three-prong wall plugs. Plug the non-prong side into the printer and the wall-prog side into the wall. The USB cable includes a USB head along with a special printer connection.
- If you have newer computers with USB-C connections, you will need to use a dock or USB-to-USB-C adapter.
- Next, plug the special printer connection head into your printer and the USB head into the computer, dock or adapter.
- Ensure both your PC and the printer are turned on.
- Click on the little Windows Start icon or press the Windows key on your keyboard.
- In the Search box, enter PRINTER. It will pull up Printers and Scanners.
- Next, you can press enter or select Printer and Scanners.
- In the next, you will find the printer under the section - Printers & Scanners. It will show a label denoting your printer's brand and model.
- If there is no printer under Printers & Scanner, click the plus icon and then Add a Printer or Scanner.
- Choose your printer, and the printer and computer will get connected.
- Test by trying to print a test page. You can print a blank page.
Steps to Connect Printer With USB to Your Mac
Use a USB connection to connect the printer when you want to use it on your Mac device. Even printers with wireless capability can be connected to USB for an effortless and error-free set-up process. Below are the steps explaining how to connect the printer with USB on Mac computers.
- First, plug the USB cable of your printer into your Mac laptop or desktop. Mac detects the printer connected via USB and then downloads the needed software. If it doesn't perform an auto-detect, move to the below-mentioned steps.
- Make a quick click on the Apple icon.
- Move to System Preferences.
- Next, click Printers and Scanners. The Printers & Scanners option will appear under Hardware if you have older Mac models.
- Go to the list of printers and click on the plus sign below it.
- Click on a printer to add. The Mac automatically auto-populates a list of printers on the network in the Default tab.
- Discover a printer name with USB listed under the column for kind.
- Click on Add. Your printer will be added to the list of printers, and you can see it on the left side of the Print & Scan window.
Why is a Laptop Not Connecting to the Printer via USB?
If your laptop fails to print, first try to print from multiple applications on your laptop. Confirm the problem is related to the printer connectivity instead of the program you want to print. And then try these solutions.
Solution 1: Perform General troubleshooting
First, verify the USB cable is connected securely to the computer and the printer. The printer is turned on, and the status lights indicate the Device is ready to print. To check your system has installed the printer:
- Go to the edge of your screen (right edge) and click on Search.
- Enter Devices and then click Settings and Devices. Your printer should appear in the list of devices available.
- If it's not on the list, add it manually.
Solution 2: Reboot and Update Windows
If you're using Windows, download the updates available for the OS. Here are the steps for updating Windows.
- Go to the top-right corner of your screen.
- Later, click on Settings.
- Once you see the Search box, enter Windows update.
- Click on Check for Updates.
- Accept all updates and reboot your PC again.
Solution 3: Install Printer Software
Some printers need users to install manufacturer-specific print software before initiating the printer's functioning. You can insert the CD or DVD and then follow automated prompts to install the software. If there is no optical drive, go through the steps.
- Go to your printer manufacturer's website.
- Now, download the software.
- Open the downloaded file from the Downloads folders.
- Go through the prompts to Install Software.
You can connect the printer to Windows and Mac devices with USB. The steps are quite straightforward.
Frequently Asked Questions
Question
Why is my printer not connecting through USB?
When your printer fails to connect through USB, the first and foremost thing you can do is check the cable and computer port problems. After that, retry to add the printer. Make sure to check the USB cable to see if they are damaged or not of the recommended length.
- Turn off both printer and computer.
- Disconnect the cable and then inspect it. If it's damaged or of longer length, replace it. And if it's undamaged and shorter, connect it to a different USB port.
- Connect the cable to the printer.
- Turn on your system and then wait for the startup process.
- Finally, add the printer to your Device by first turning it on.
Question
How do I enable USB on my printer?
Enabling a printer port is an efficient process. Here is how you can do it.
- Firstly, find the Start menu and click on it.
- After that, go to the Control Panel.
- Choose Device and Printers.
- On your printer, right-click and choose the Properties option.
- Click on the Pro tab and check the box next to the port number.
- In the end, click on Apply.
Question
How do I make my USB printer visible on my network?
You can make a USB printer visible on the Network using Settings. Execute the steps below.
- First of all, choose the Start menu.
- After that, select Settings.
- Go to Device and then Printers & Scanners.
- Choose the printer that you want to make visible.
- Tap on Printer Properties and select the Sharing tab.
- Click Share this printer on the Sharing tab.
- You can edit the share name of your printer too.


Enter your Comments Here: