
How to Setup Brother MFC-J5340DW Inkjet Printer on Computer?
February 6, 2025

Brother printers are well-known for their high print quality, fast printing speed, reliability, and low-cost printing. It has gained popularity for its outstanding ability to print various types of documents seamlessly. However, many users struggle when it comes to setting up these printers on a device. If you are a Brother printer user, this blog is for you. Here, you’ll briefly learn the Brother printer setup on computer.
As you know, these printers are highly versatile devices adopted by many users due to their sleek appearance and design. It saves you time and money and keeps you very productive always. You can connect it easily via USB, Wi-Fi, Bluetooth, Ethernet, and AirPrint. In this blog, you’ll only learn about the wireless connection. Let’s get started.
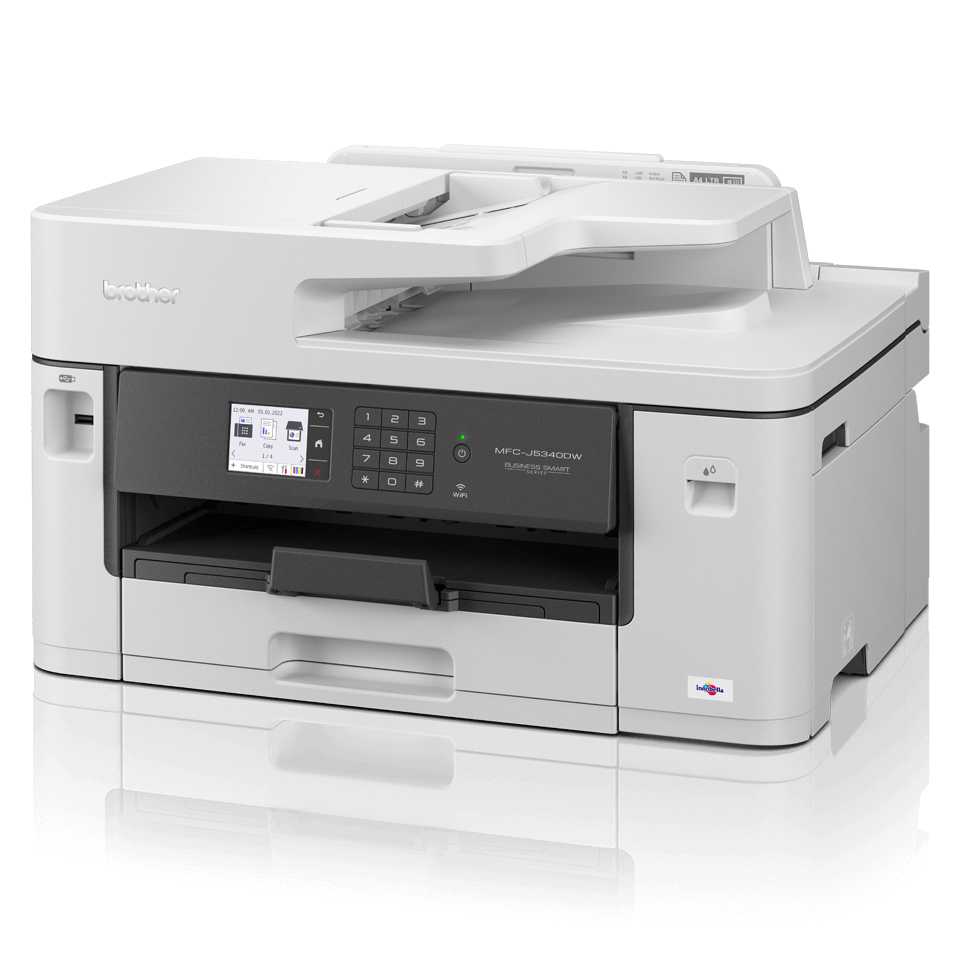
Unboxing the Brother MFC-J5340DW Printer
Before proceeding with the setup procedure, you should unbox your printer and remove all the packaging and adhesive tapes from inside and outside. Check if your printer box includes all necessary accessories and the manual. If yes, you can go ahead with the procedure; if not, contact your vendor. Now, when you are done with unboxing, let’s move on to the setup process.
How to Add Brother Printer to a Wireless Network?
To setup the Brother MFC-J5340DW printer on a computer via a wireless connection, check out the steps below and follow them.
Step 1: Power on Your Computer
The first step towards the Brother printer setup on computer is to power on your printer. To do this, connect a power cord to your printer and then connect it to the power supply.
Step 2: Open the Network Option on Your Printer
On your printer, go to the Control Panel and press the Menu button. Then, use the up or down arrows to head to the Menu option. You can press those keys and scroll down to locate the Network option.
Step 3: Go to the WLAN Option
Using the arrows, go to the Menu and scroll down to the WLAN option. On reaching that option, click OK. However, this option may vary in different Brother printers. Hence, you should check where that option is available in your printer.
Step 4: Enable the Wireless Network
To move forward, go to the Setup Wizard option using the arrow keys and select the OK button. After that, your printer’s screen will display the “WLAN Enable?” option. Next, tap the Yes option to enable a wireless network. By doing this, you will activate your wireless setup wizard. Now, your Brother MFC-J5340DW printer will start looking for a Wi-Fi network, and a list of networks will be displayed.
Step 5: Choose Your Network Name
From the list of networks and SSID names, choose your network name by scrolling down. Once you select it, click OK.
Step 6: Supply Your Network Password
Once you choose your network, you will need to provide your network’s password. This step is important for encryption and authentication. Once you enter the network key or password, the connection will be verified. Next, tap OK and then Yes to save the changes.
Finally, your printer will connect to the wireless network, and a notification will confirm the connection. To complete this setup, you’ll have to download and install printer drivers on your computer. Now, let’s learn about the Brother printer setup on computer.
How to Setup Brother Printer on Computer Wirelessly?
Once you are done connecting your printer to a wireless network, you can set it up on a computer wirelessly. Let’s check out the steps for Windows computers.
Step 1: Download Printer Drivers
To start, you need to get the latest version of drivers for your printer model. To do this, check out the following steps:
- In the first step, check whether your printer is connected to Wi-Fi or not.
- Then, browse Brother’s official website and navigate to the printer drivers.
- Now, you will see the option to download them.
- After downloading, the files will appear in the Downloads folder of your PC.
- Head to your Downloads folder and open the file by double-clicking on it.
- Next, you will see an installation wizard.
Step 2: Proceed With the Installation Wizard
Once you finish the printer driver installation, you’re ready to follow the next steps to setup the Brother MFC-J5340DW printer on your computer.
- From the installation wizard, select the Wireless Network Connection option and press the Next option.
- Then, select the Brother Peer-to-Peer Network Printer option.
- Further, select an option to enable the network connection and continue with the installation.
- Select the Next button now.
- Now, choose if you have a USB cable or not.
- Next, you’ll see a confirmation screen, so don’t forget to check the box and press Next.
- You’ll see the SSID network name on the screen.
- Check if the name is correct, and click Yes.
- Continue with the instructions to complete the installation process.
- Afterward, click the Finish button to complete the process.
- After connecting your printer properly to the wireless router, you’ll see the Wi-Fi light flashing.
- Finally, the connection process is completed.
That’s how you can complete the Brother printer setup on computer and start printing with your advanced printer.
Frequently Asked Questions
Question
How Do I Download and Install Brother Printer Drivers?
To download printer drivers for your printer, use the instructions below:
- To begin, visit the official Brother website https://setupbrother.com/.
- Then, type your printer model.
- Now, choose the operating system you’re working on.
- After that, you’ll see a list of printer drivers.
- Choose a suitable printer driver for your printer
model.
- In the next step, press the Download button.
- The drivers will move to your Downloads folder.
- From that folder, open your driver’s file and run
the installation.
Question
How to Setup Brother MFC-J5340DW Printer on Mobile?
To setup your printer on mobile devices, follow these steps:
- Install
the Brother Mobile Connect app from your respective App Store.
- Open that app and click on Add Machine.
- Now, type your printer’s model name.
- Select the Confirm
option.
- Let your printer and mobile connect, and click on
the Connect button.
- Make sure that your printer and mobile are connected
to the same wireless network.
- Now, supply your Wi-Fi password, and let the
wireless connection setup.
Question
Can I Setup My Brother Printer on a Mac?
Yes, these printers
are compatible with Mac computers and can be easily setup on them. You only
need to download and install the necessary printer drivers to develop a
connection on a Mac computer. To perform the Brother printer setup on computer, you can use a USB, Ethernet,
Bluetooth, or Wi-Fi connection to get started.
Enter your Comments Here: