
How to Add Brother MFC-L6700DW Wireless Printer to PC/Laptop?
November 22, 2023

Are you all here to learn how to add Brother printer to computer? I know how crucial it is to learn the basics. Being a printer expert, I can teach you the process in an easy way. So, why did I decide to write this blog?
For a long time, I have been getting messages and queries on my page about the printer’s connection to a PC. So, then, I felt the need to wrap up my knowledge in a blog post and share it with all of you. I know you want to learn how to connect a Brother printer to your computer.
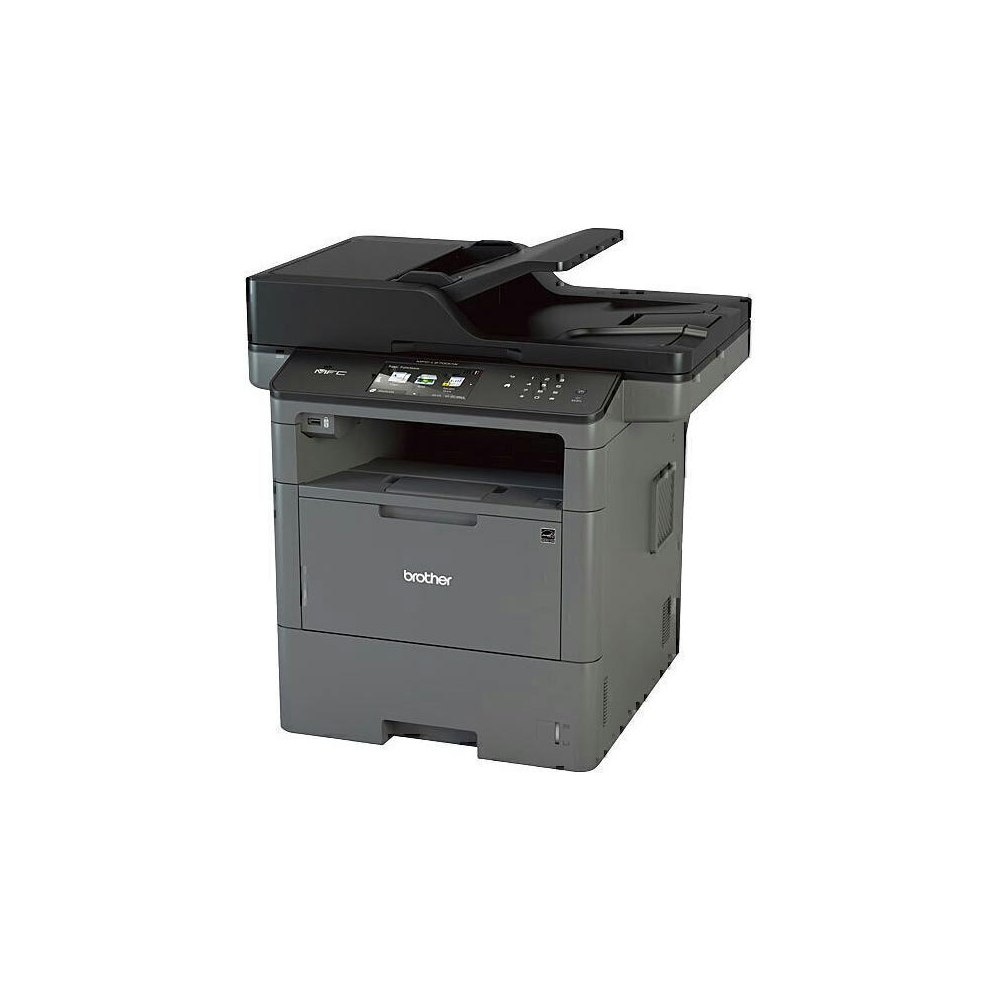
The Brother MFC-L6700DW wireless printer is brilliant, and I have used it for my personal printing work. During the printer’s use, I have discovered many things that I am here to tell you about. So, if you are wondering about its setup procedure, read this entire blog.
How to Add Brother Printer to Computer (Windows)?
To add your Brother MFC-L6700DW wireless printer to a Windows computer, you need to go through the steps I am going to share. Then, you’ll be able to take prints from your printer. These are the steps you need to follow.
Step 1: Enable Bluetooth on Your Computer
- In the first step, head to the Start menu on your computer.
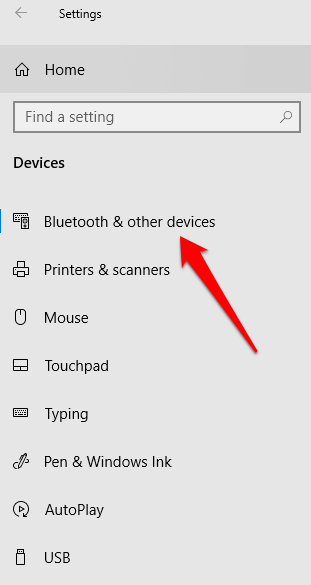
- Then, go to the Settings option and select the Devices option.
- Now, click on the Bluetooth and other devices option.
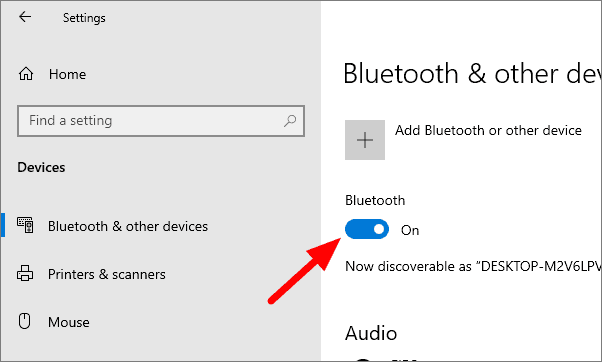
- After that, enable the Bluetooth option and pick your printer to start the pairing process.
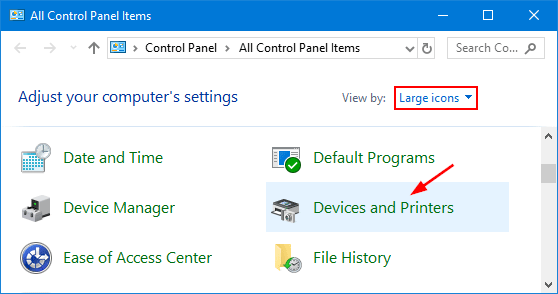
- Then, select the Devices and Printers.
Step 2: Connect the Brother Printer to a PC via Bluetooth
- Next, right-click on your Brother MFC-L6700DW wireless printer.
- Now, hit the Properties option.
- Then, launch the Services option and note your port’s name.
- After that, connect your printer and PC via a USB cable.
- Now, your PC screen will show a message as “Device setup complete on the right of your screen.”
- Then, a printer’s icon will appear in the Devices and Printers option.
- Next, right-click on your Brother printer and select the Printer Properties.
- Then, launch the Port tab and select your port name.
- Now, click OK and close the Properties box.
- At last, close your printer’s window and complete the process.
That’s it for the Brother wireless printer setup on a Windows computer. You can follow the exact steps to add your printer to a PC. However, if you find this method tricky, you can contact our printer experts at wirelessprinter.online and get a free consultation and learn how to add Brother printer to computer.
You only have to click the support tab and select a call or live chat method to connect with them. I am also a part of this technical support team and working as the printer expert.
How to Add Brother MFC-L6700DW Wireless Printer to Mac?
For Mac users, the process is slightly different. I assure you that every type of user learns the connection methods, whether they are Windows or Mac users. These are the steps for that.
- Switch on your Mac device.
- Then, update your printer’s software if available.
- Unbox your Brother MFC-L6700DW wireless printer and turn it on.
- Go with the on-screen directions to connect your Brother printer to your Mac.
- Now, use the printer’s list and add your Brother from there.
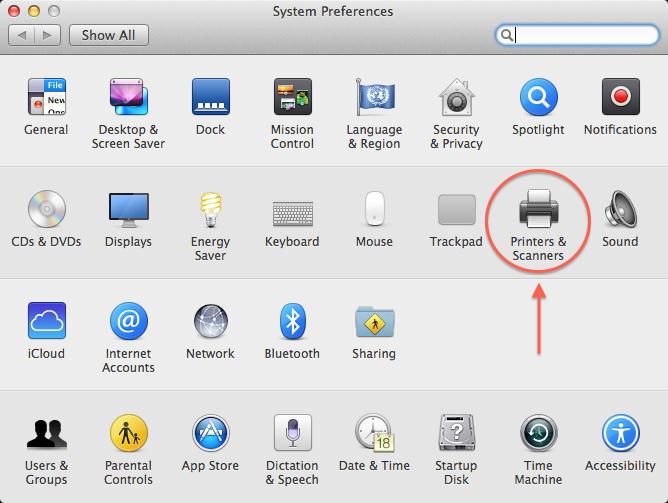
- After that, move to the Apple menu and select the System Settings.
- Next, click on the Printers and Scanners option.
- Then, tap on the Add Printer, Scanner, or Fax option and click on the Default option.
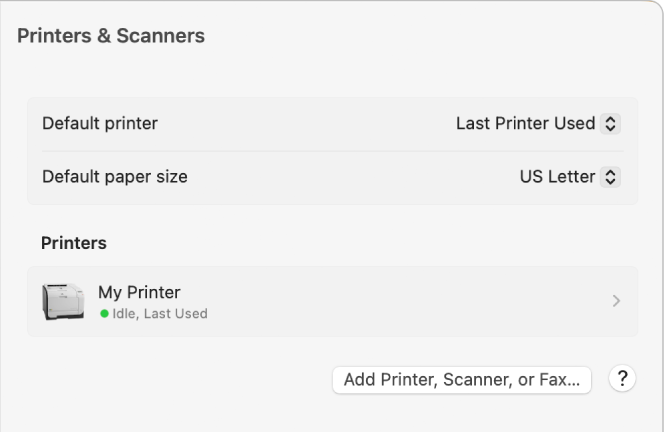
- Now, choose your Brother printer from the displayed list and click on the Add option.
- In case you don’t see your printer in the list, close your printer’s window and complete the process.
It was an easy process for adding your Brother MFC-L6700DW wireless printer to a Mac computer. Well, if you are seeking professional help, you can get in touch with us and talk to our technical experts regarding your query. Therefore, you need to visit our website at wirelessprinter.online and go to the support link to get a free consultation with them.
Conclusion
So, you learned how to add Brother printer to computer like Windows and Mac. The process is so simple and needs a few steps to complete it. However, you need to first confirm if your Brother printer is Bluetooth enabled or not. You can check your printer’s manual to confirm it. Then, by following all the steps mentioned above, you will connect your printer to the computer effortlessly.
Frequently Asked Questions
Question
How Do I Connect My Brother Printer to My Computer?
These are the steps to connect your Brother wireless printer to a computer:
- Go to the Start
menu on your computer.
- Then, move to the Settings and select Devices.
- Now, click the Bluetooth
and other devices option.
- After that, turn on the Bluetooth option.
- Then, choose your printer to start the pairing.
- Now, select the Devices
and Printers option.
- Next, right-click on your printer’s name.
- Choose the Properties
option.
- Now, launch the Services
tab and note the name of the port.
- You will see a printer’s icon under the Devices and Printers option.
Question
How Do I Get Brother Printer Drivers?
These are the steps to get Brother printer drivers:
1. Head to Brother’s official website and search for your Brother printer model.
2. Then, select your operating system and click OK.
3. Now, click on the Full Driver & Software Package option.
4. Agree to the License Agreement displayed on your screen.
5. Next, the download will start automatically.
6. Now, click Yes on the agreement.
7. Choose your connection type and click Next.
8. Then, your PC will search for your printer and show a list.
9. Now, choose your printer and then hit Next.
10. Then, the installation will start.
Question
Why is My Brother Printer Not Connecting to My Computer?
Well, there can be numerous reasons behind it. The first reason is when your devices are not connected to the power source properly. Another reason can be when the printer drivers are not installed on your computer.
Many times, paper jam issues and incorrect printer settings are the potential reasons. If you are
using a Wi-Fi network, it may be possible that both of your devices are
connected to the same network.
Enter your Comments Here: